Going Medieval Settler Mood System: Every Modifier, Every Number
Mood in Going Medieval is not a vibe — it is arithmetic. Every settler carries a running total of named modifiers, each with a fixed value and duration, and the game reads that total to decide whether your people work, rebel, or walk. A settler whose mood drops low enough can refuse orders entirely, and at zero they simply leave your settlement. The modifiers themselves are fully documented, so mood management stops being guesswork the moment you know which levers are worth ±2 and which are worth ±20. This guide collects the real numbers: the big positives, the killers, and the Impressiveness-scaled bonuses that quietly do most of the daily work.
How Mood Actually Works
Each modifier on a settler adds or subtracts points for a set duration — from 4-hour beer buzzes to 128-hour grief. They all stack, and the stack is the settler's mood. Two rules follow. First, durations matter as much as values: a +8 that lasts 48 hours (Victorious!) is worth far more than a +8 that lasts 4. Second, the deep holes are need-based — a starving, exhausted settler is carrying −40 before you count a single event, and no amount of fine wine (+2, 4 hours) papers over that.
The floor is real: low mood can make a settler rebel and refuse orders; a mood of zero makes them leave the settlement permanently. New arrivals start with Initial Optimism (+25 for 180 hours), which is why fresh settlers seem easy to please — the bonus is temporary, and their real baseline shows up a week later.
The Positive Levers, Ranked by Value
| Modifier | Value | Duration | How to Trigger It |
|---|---|---|---|
| Initial Optimism | +25 | 180 h | Automatic for new settlers — spend the grace period building real comforts |
| Together We Are Strong | +16 | 48 h | Take in someone in need (sanctuary event) |
| Slept in own quarters (Palatial) | +12 | 16 h | Private chamber at the top Impressiveness tier |
| Beautiful surroundings | +10 | While present | Keep living/working areas beautiful |
| Ate in great hall (Palatial) | +10 | 16 h | Meals in a Palatial great hall (scales down by tier) |
| Victorious! | +8 | 48 h | Survive and win a raid |
| Ate an Exquisite Meal | +8 | 8 h | High-quality cooked meals |
| Extremely comfortable | +8 | While present | Comfortable surroundings/furnishings |
| Religious needs fulfilled | +5 | While fulfilled | Shrine/chapel/temple of the settler's faith + leisure time |
| Entertainment needs fulfilled | +5 | While fulfilled | Pastimes (e.g. backgammon) + scheduled leisure |
| Ate at a table | +4 | 12 h | Any table beats eating standing (+2) or on the move |
| Job Satisfaction | +4 | 12 h | Work matching the settler's job preferences |
| Slept in very comfortable bed | +6 | 12 h | Best beds; comfortable +4, nice +2, uncomfortable −1 |
| Wonderful/pleasant dreams | +1 to +2 | 6–10 h | Random overnight — free, don't plan around it |
The Killers: Biggest Negative Modifiers
Negatives cluster in three families: unmet needs (fixable in hours), grief and horror (fixable only by time and burial detail), and discomfort (fixable by construction). Sorted by damage:
| Modifier | Value | Duration | Prevention / Fix |
|---|---|---|---|
| Friend Died | −25 | 128 h | Can't be prevented, only ridden out — pile on positives |
| Butchered someone I knew | −22 | 48 h | Never assign human butchering to friends of the dead |
| Starving / Losing HP | −20 | While starving | Food security — see winter food storage |
| Exhausted / Losing consciousness | −20 | While exhausted | More sleep hours in the daily schedule |
| Consumed human flesh | −20 | 48 h | Forbid human-meat meals in the manage panel |
| Ravenous | −15 | While ravenous | Feed before it escalates to Starving |
| Banished friend | −15 | 48 h | Think twice before banishing settlers with friends |
| Acquaintance died | −10 | 128 h | Colony-wide after any death |
| Deprived of entertainment | −8 | While deprived | Pastimes + leisure hours (lacking: −5) |
| Deprived of religious activities | −8 | While deprived | Shrine of the right faith + leisure (lacking: −5) |
| Slept outside / in rain / in snow | −7 | 12 h | Any roofed bed; ground sleeping alone is −5 |
| Freezing / Overheated | −8 | While exposed | Seasonal clothing; chilly/sweaty are only −2 |
| Lonely | −8 | While lonely | Shared meals and social time |
| Saw a dead body / friend's corpse | −3 / −4 | 24 h | Bury or stockpile corpses far from living areas |
| Ugly apparel | −5 | While worn | Tailor better clothing (elegant apparel: +5) |
Read the table as a triage order. Hunger (−2/−5/−15/−20 as it escalates) and tiredness (−2/−8/−20) out-damage everything else combined, so the schedule and the pantry are your mood system; rooms and recreation are multipliers on top of that foundation.
Rooms Are the Daily Engine: Impressiveness-Scaled Bonuses
Three room bonuses scale with the room's Impressiveness tier, and they repeat every day, which makes them the highest-leverage mood investment in the game. The sleep modifier lasts 16 hours — two-thirds of a settler's waking life — and a private chamber pays exactly double a shared one:
| Impressiveness Tier | Private Chamber (16 h) | Shared Chamber (16 h) | Great Hall Meal (16 h) | Temple / Chapel (12 h) |
|---|---|---|---|---|
| Awful | −4 | −4 | −2 | −4 |
| Uninspiring | 0 | 0 | 0 | 0 |
| Modest | +2 | +1 | +1 | +2 |
| Good | +4 | +2 | +2 | +3 |
| Superior | +6 | +3 | +4 | +4 |
| Luxurious | +8 | +4 | +6 | +5 |
| Opulent | +10 | +5 | +8 | +6 |
| Palatial | +12 | +6 | +10 | +7 |
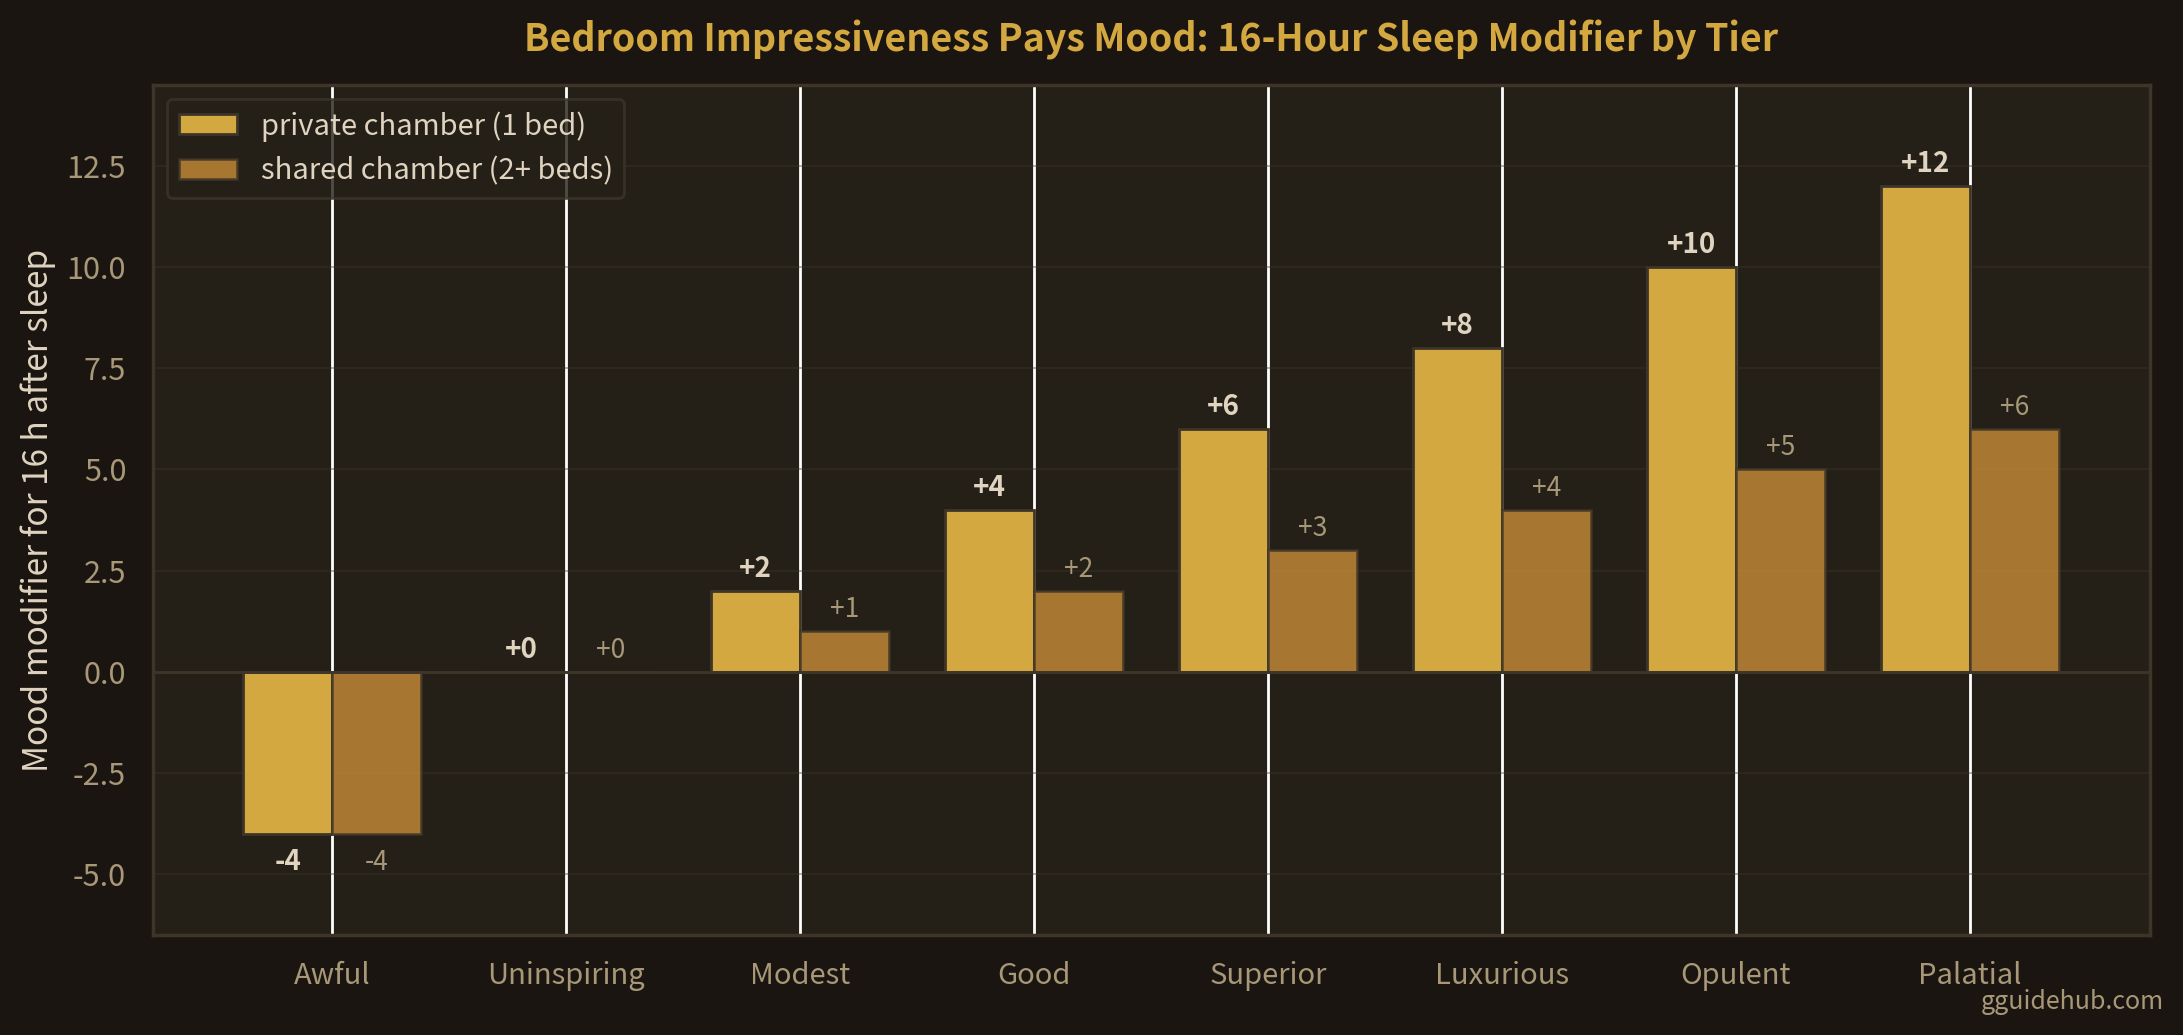
The tiers behind this table — Awful 0 through Palatial 6000, and the wealth/beauty/spaciousness formula that produces them — are laid out in room quality system. Note the trap at the bottom: an Awful bedroom, great hall, or chapel is worse than no bonus at all, so a half-finished showpiece room can be a net negative until you finish it.
Worked example — one good day: a settler who sleeps in a Good private chamber (+4, 16 h), eats two meals in a Good great hall (+2 each, 16 h), sits at a table (+4, 12 h), works a preferred job (+4, 12 h) and has faith and fun covered (+5 each) is carrying roughly +24 through the working day — enough to shrug off an acquaintance's death (−10) without blinking. The same settler in an Awful shared room starts at −4 and has no cushion at all.
Traits Bend the Curve
Perks shift both a settler's mood target and how fast mood moves, so two settlers in identical conditions can sit at very different totals. Congenial settlers run a +15% mood target with 15% slower mood change (stable and happy); Churl settlers run −20% with faster mood swings and worse social interactions; Contemplative settlers take −30% but barely socialize. Content-relevant trait modifiers also show up directly in the modifier list — a Precious settler takes −4 for sleeping in shared quarters and −4 from jealousy when someone has a better bedroom, while weather perks flip rain and snow from penalties into +8 bonuses. The full tier list is in settler traits tier list.
Practical takeaway: check the mood panel by sorting the modifiers, not by watching the bar. The bar tells you someone is unhappy; the modifier list tells you it is −15 from hunger and −4 from an ugly shirt, which is a cooking problem and a tailoring problem, not a mystery. Keep needs green, bury your dead, and let the rooms do the slow compounding — that is the entire system.
Frequently Asked Questions
What happens when mood gets low in Going Medieval?
A settler with low mood can rebel and refuse to follow orders, and if mood reaches 0 they leave your settlement for good. Mood is the sum of every active modifier — Starving (−20) and Exhausted (−20) stack with grief like Friend Died (−25 for 128 hours), so several problems at once can push a settler to zero fast.
What are the biggest positive mood modifiers?
Initial Optimism (+25, 180 h) for new settlers, Together We Are Strong (+16, 48 h), a Palatial private chamber (+12, 16 h), Beautiful Surroundings (+10), a Palatial great hall meal (+10, 16 h), and Exquisite Meals (+8, 8 h). The everyday workhorses are fulfilled entertainment and religious needs (+5 each), Job Satisfaction (+4, 12 h), and eating at a table (+4, 12 h).
How much does a good bedroom improve mood?
The 16-hour sleep modifier scales with Impressiveness: private chambers run −4 (Awful) through +2 (Modest), +4 (Good), +8 (Luxurious) up to +12 (Palatial); shared chambers pay exactly half, topping out at +6. Bed comfort is a separate 12-hour modifier from −1 to +6, so the room and the bed stack.
Do mood modifiers stack?
Yes — every active modifier adds to current mood with its own duration, from Drank Good Beer (+2, 4 h) to Acquaintance Died (−10, 128 h). Because they stack, one death can erase days of good meals and nice rooms, which is why burying corpses quickly (Saw a Dead Body is −3 for 24 h) matters so much after a raid.
How do I fix a settler whose mood is crashing?
Fix the biggest number first: hunger and sleep penalties (Ravenous −15, Starving −20, Exhausted −20) outrank everything, so food and rest come before luxuries. Then clear event penalties — bury bodies, ride out the 128-hour grief. Finally add positives: schedule leisure so entertainment and religion flip from −8 to +5, serve cooked meals, and upgrade the bedroom, worth up to +12 for 16 hours a day.
Related Guides
- Room Quality System — the Impressiveness tiers behind room mood bonuses
- Mood Management Guide — day-to-day stability routines
- Happiness Guide — the long game on morale
- Bedroom Layout — private chambers worth +12 a day
- Great Hall — meals that pay mood for 16 hours
- Settler Schedule Template — sleep and leisure hours that prevent the −20s
- Religion Guide — turning faith from −8 deprived into +5 fulfilled
- Recreation Scheduling — entertainment needs without lost work
- Settler Traits Tier List — perks that bend the mood curve
- Winter Food Storage — never see Starving −20 again
Last updated: July 19, 2026. Game mechanics may change with future updates.