Going Medieval Work Priorities Setup: The 1–5 System Done Right
The Jobs panel is the operating system of your colony, and most failed settlements die from a misconfigured one. The system itself is simple — five priority numbers, one blank that means “never”, and a left-to-right tiebreak — but the failure modes are subtle: harvests ruined by unskilled hands, haulers who never haul, a whole colony standing idle because the one job that mattered sat at priority 3 on the wrong settler. This guide gives the actual rules of the priority system, every job and the skill that governs it, and a copyable five-settler matrix that covers a working colony end to end.
The Rules of the 1–5 System
| Setting | Meaning | Behavior |
|---|---|---|
| 1 | Highest | Settler does this job before anything else that has valid work |
| 2 | High | Done once no priority-1 work is available |
| 3 | Normal | The default working level for secondary jobs |
| 4 | Low | Filler work for idle hands |
| 5 | Lowest | Last-resort tasks, done only when everything else is finished |
| Blank | None | The settler will never do this job — no exceptions |
Four rules, straight from the game, do most of the work:
- Right-click raises priority, left-click lowers it. You sculpt each settler's row directly in the Jobs panel.
- Settlers always take the highest-priority job with valid work. A priority-1 job with nothing to do is skipped, not waited on — the settler falls through to their next priority.
- Ties break left to right. By default jobs run left to right, and jobs sharing a number keep that column order — so position inside a priority level still sequences work.
- If nobody has a job enabled, it never happens. A blank box is absolute. Colonies starve with full fields when every settler has Harvest blanked.
Every Job and the Skill That Governs It
The panel lists the colony's jobs; each skilled job feeds experience to one skill, and the box's frame colour shows the settler's level in it. Unskilled jobs (no governing skill) are safe to spread widely; skilled jobs should follow talent:
| Job | Governing Skill | What It Covers |
|---|---|---|
| Firefight | — | Stomping out fires near the settlement — everyone at priority 1 |
| Patient / Convalesce | — | Awaiting treatment; resting while wounds heal |
| Tend | Medicine | Treating wounds, carrying the unconscious to beds |
| Urgent Haul / Haul | — | Moving resources to stockpiles; burying or burning bodies |
| Gaoler | Speechcraft | Prisoner care, stripping new prisoners, managing release |
| Hunt | Marksman | Hunting marked animals |
| Construct | Construction | Building, deconstructing, repairing everything |
| Fish | Animal Handling | Catching fish by angling |
| Grow / Harvest | Botany | Sowing fields; harvesting crops and wild plants |
| Animal Husbandry | Animal Handling | Taming, training, slaughtering, shearing, skeps |
| Mine | Mining | Digging and mining marked areas |
| Cut Plants | Botany | Chopping trees, clearing vegetation |
| Cooking | Culinary | Meals, butchering, brewing, preserving — campfire through distillery |
| Craft | — | Basic unskilled crafting: bricks, stonemason's bench, kiln, ice box |
| Smithing | Smithing | Metal gear and ingots — forge, armourer's table, smelting furnace |
| Carpentry | Carpentry | Wooden items and bows — woodwork bench, bowyer's table |
| Tailoring | Tailoring | Clothing and leather armour — sewing station, armourer's table |
| Alchemy | Intellectual | Transmutation and material isolation at the apothecary bench |
| Research | Intellectual | Chronicle writing at the three research tables |
| Artist | Art | Statues, paintings, tapestries — easel, sewing station, benches |
| Steward | — | Locking doors, closing windows, extinguishing torches |
| Train | — | Combat practice with ranged and melee weapons |
The failure rule: if a settler's skill for a job is very low, turn that job off completely rather than leaving it at 5. The game's own tutorial gives the example: a low-Botany settler allowed to harvest can ruin the crop, yielding nothing. A blank box is not a wasted settler — it is insurance that only competent hands touch fragile work.
A Five-Settler Template That Covers Everything
The pattern: Firefight at 1 for all; each settler's profession at 1–2; Haul shared at 2–4 so nobody important does it first but it always gets done; blanks wherever a settler would do harm. Numbers below are a starting matrix — adjust to your settlers' actual passions and skills:
| Job | Cook | Builder | Farmer | Smith | Scholar |
|---|---|---|---|---|---|
| Firefight | 1 | 1 | 1 | 1 | 1 |
| Tend | 2 | 3 | 3 | 4 | 1 |
| Cooking | 1 | — | 3 | — | — |
| Construct | 4 | 1 | 3 | 2 | — |
| Mine | — | 2 | — | 3 | — |
| Grow / Harvest | 3 | 4 | 1 | — | — |
| Cut Plants | 4 | 3 | 1 | — | — |
| Smithing | — | 3 | — | 1 | 4 |
| Research | — | — | — | 4 | 1 |
| Tailoring | 3 | — | 4 | 2 | — |
| Haul | 3 | 4 | 2 | 3 | 2 |
| Hunt | — | — | 3 | — | 4 |
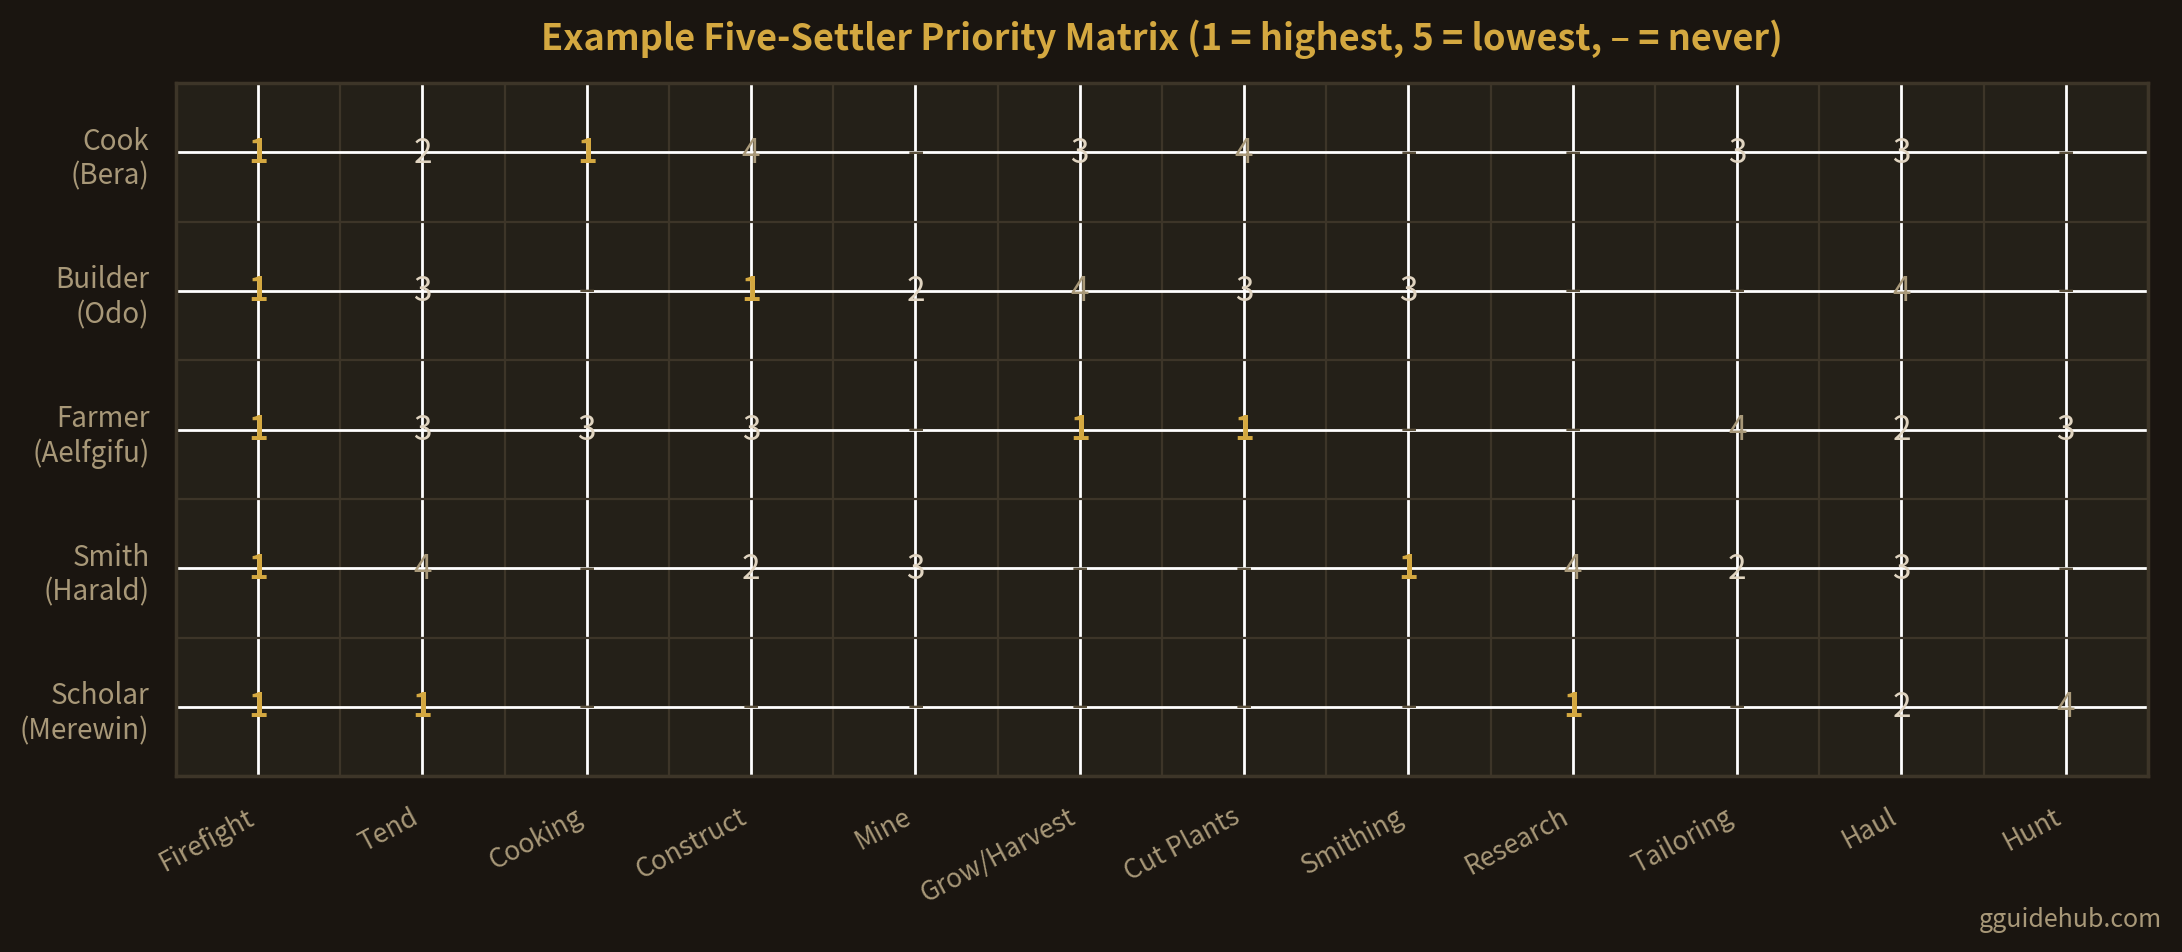
Three properties make this template robust. First, coverage: every job appears on at least one row, so nothing silently never happens. Second, backup depth: critical jobs (Tend, Construct, Cooking) sit at 2–3 on a second settler, so an injured specialist doesn't paralyze the colony. Third, protected specialists: the scholar never hauls before researching and never touches a harvest they could ruin. As the colony grows past eight settlers, graduate haulers and builders into dedicated roles and strip secondary jobs off your specialists.
Priorities pair naturally with scheduling — a priority-1 farmer still needs daylight work hours, and leisure blocks keep mood up while the matrix runs. See settler schedule template for the hours half of the equation, and specialist training for why passion-driven priority choices also level settlers fastest.
Frequently Asked Questions
How do work priorities work in Going Medieval?
Every settler has one box per job in the Jobs panel, settable from 1 (highest) to 5 (lowest) or left blank, which means never. Settlers always take the highest-priority job with valid work available. Right-click raises priority, left-click lowers it. If no settler has a job enabled, that work never gets done.
What happens when two jobs have the same priority?
Ties resolve left to right: settlers default to prioritizing jobs from left to right across the panel, and jobs sharing a number keep that column order. Within one priority level, the job closer to the left edge wins.
Should low-skill settlers do skilled jobs?
Usually no. The frame colour of each job box shows the settler's skill, and the in-game tutorial advises disabling jobs for very-low-skill settlers — a low-Botany settler can ruin a harvest, yielding nothing. Leave skilled work to the skilled and let everyone else haul, craft, and firefight.
What is a good priority setup for a new colony?
Firefight at 1 for everyone; each settler's passion jobs at 1–2; support jobs at 3–4; blanks on anything they would ruin. Share Haul at 2–4 across the colony so stockpiles clear without distracting specialists. The five-settler matrix above is a complete working example.
How many priority levels should I actually use?
All five, sparingly. Priority 1 is for professions plus Firefight, 2–3 for regular secondary work, 4 for idle-time filler, 5 for last resorts. Blanking bad jobs matters more than fine-tuning numbers — a settler who can never touch a job can never fail at it.
Related Guides
- Settler Job Assignment — matching settlers to roles
- Work Priorities — the companion overview
- Specialist Training — passion makes priorities level settlers faster
- Settler Schedule Template — the hours behind the priorities
- Maximize Settler Efficiency — squeezing more out of every workday
- Settler Skills — what each skill actually unlocks
- Newcomers' Skills — evaluating recruits before assigning jobs
- Best Workshop Layout — the +20% rooms your crafters work in
- Settler Mood System — why Job Satisfaction (+4) belongs in your planning
Last updated: July 19, 2026. The example matrix is a recommended template, not game data. Game mechanics may change with future updates.